Merken
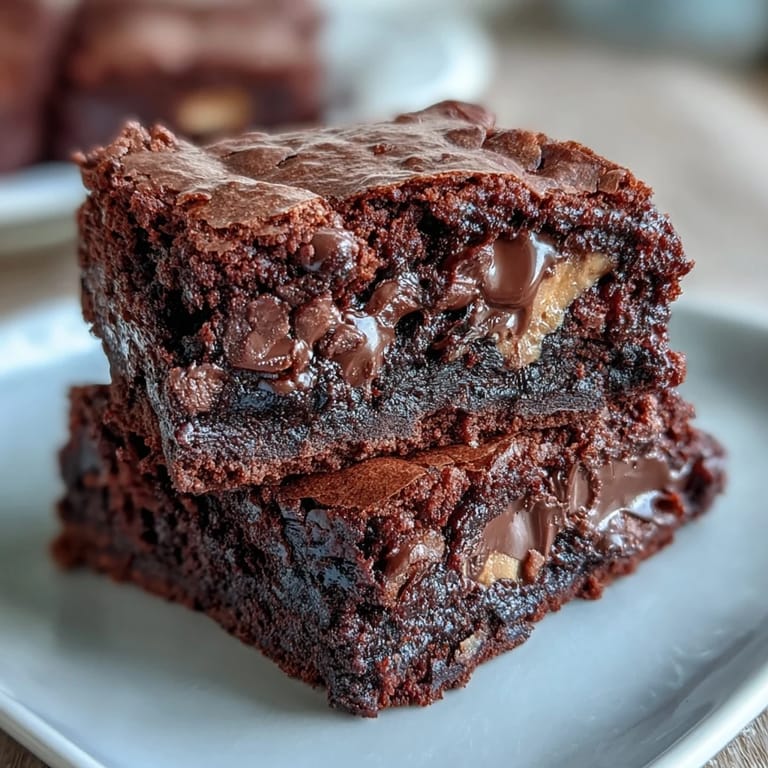
 My neighbor knocked on the door one afternoon with a pan of these brownies, and I honestly couldn't stop at one square. Years later, I figured out her secret was baking the peanut butter cups right into the middle, so every bite felt like a treasure hunt. The combination of fudgy chocolate and that creamy peanut butter center just works, and now I make them whenever I need to win someone over with dessert.
I baked these for a potluck at work when everyone was skeptical about my cooking abilities, and they disappeared before the main course even finished. Watching people's faces light up when they bit into that peanut butter center was better than any compliment, and suddenly I became the person everyone wanted desserts from.
Ingredients
- All-purpose flour (1 cup / 125 g): The structure that holds these brownies together without making them cakey or dense.
- Unsweetened cocoa powder (1 cup / 80 g): This is where the deep chocolate flavor comes from, so don't skimp on quality here.
- Baking powder (1/2 teaspoon): Just a touch to help the brownies rise slightly and achieve that perfect fudgy texture.
- Salt (1/2 teaspoon): The secret ingredient that makes chocolate taste more chocolatey and balances all the sweetness.
- Unsalted butter, melted (1 cup / 225 g): Melting it first means you skip the creaming step and save time without losing richness.
- Granulated sugar (2 cups / 400 g): This creates that shiny, glossy batter that signals you're on the right track.
- Large eggs (4): They bind everything together and add moisture that makes these brownies tender.
- Vanilla extract (2 teaspoons): A small amount that deepens the chocolate flavor in ways you might not notice but definitely appreciate.
- Semi-sweet chocolate chips (1 cup / 175 g): Extra pockets of chocolate throughout because more is always better in brownie territory.
- Mini peanut butter cups (16): The star of the show, nestled in the middle where they create pockets of creamy, salty heaven.
Tired of Takeout? 🥡
Get 10 meals you can make faster than delivery arrives. Seriously.
One email. No spam. Unsubscribe anytime.
Instructions
- Get Your Pan Ready:
- Preheat your oven to 350°F and line your 9x13-inch pan with parchment paper, letting a bit hang over the sides so you can lift the whole thing out later. This step saves you from frustration and broken brownie corners.
- Blend the Dry Goods:
- In a medium bowl, whisk together flour, cocoa powder, baking powder, and salt until there are no lumps hiding in the cocoa. This prevents grainy spots in your final brownies.
- Cream the Butter and Sugar:
- Pour melted butter into a large bowl with sugar and whisk until it looks glossy and beautiful. You'll notice the mixture transforms in just a minute or two.
- Add the Eggs One at a Time:
- Beat in each egg fully before adding the next one, then stir in the vanilla. This creates a silky base that's crucial for fudgy texture.
- Fold in the Dry Mixture:
- Gently fold the dry ingredients into the wet mixture until just combined—overmixing is the enemy of tender brownies. You want to see a few streaks of flour disappear, then stop.
- Stir in the Chocolate Chips:
- Fold these in gently so they distribute evenly throughout. This gives you chocolate in every bite.
- Layer the First Half of Batter:
- Spread half the brownie batter evenly across the prepared pan using a spatula. Take a moment to make sure it's level.
- Arrange Your Peanut Butter Cups:
- Place the mini peanut butter cups in an even pattern across the batter, spacing them so each brownie square gets one. This is the fun part.
- Top with Remaining Batter:
- Spoon the second half of batter over the peanut butter cups, then smooth it gently with a spatula until they're completely covered. You want the cups hidden inside like a surprise.
- Bake Until Perfect:
- Bake for 28 to 32 minutes—the exact time depends on your oven, so start checking at 26 minutes. You're looking for a toothpick that comes out with a few moist crumbs, not clean.
- Cool Completely:
- Let the brownies rest in the pan until they're completely cool, which takes patience but prevents them from falling apart when you slice them. Then lift the parchment overhang and transfer to a cutting board.
 Merken
 There's a moment after these brownies cool when you lift them out of the pan and can finally see those peanut butter cups peeking through the chocolate cracks, and you realize you created something that tastes better than it looks. That's when these stop being just dessert and become a small victory.
The Science Behind the Fudge
Fudgy brownies depend on the ratio of fat to flour, and this recipe nails it with melted butter and minimal flour. The eggs add moisture without drying out the crumb, and stopping at the right bake time is everything—those moist crumbs finish cooking in the pan as it cools, transforming into that perfect dense texture that makes people close their eyes when they eat one.
Timing and Temperature Matter
I learned the hard way that oven temperature varies wildly between models, so the first time you make these, stay nearby and watch carefully after 26 minutes. Some ovens run hot and finish in 28 minutes; others need the full 32, and there's no way to know except by paying attention to that toothpick test.
Serving and Storage Ideas
These brownies taste incredible fresh from the kitchen, but they also keep beautifully for up to four days in an airtight container. I love serving them at room temperature with vanilla ice cream, or warming them slightly in the microwave for 15 seconds if they've been in the fridge.
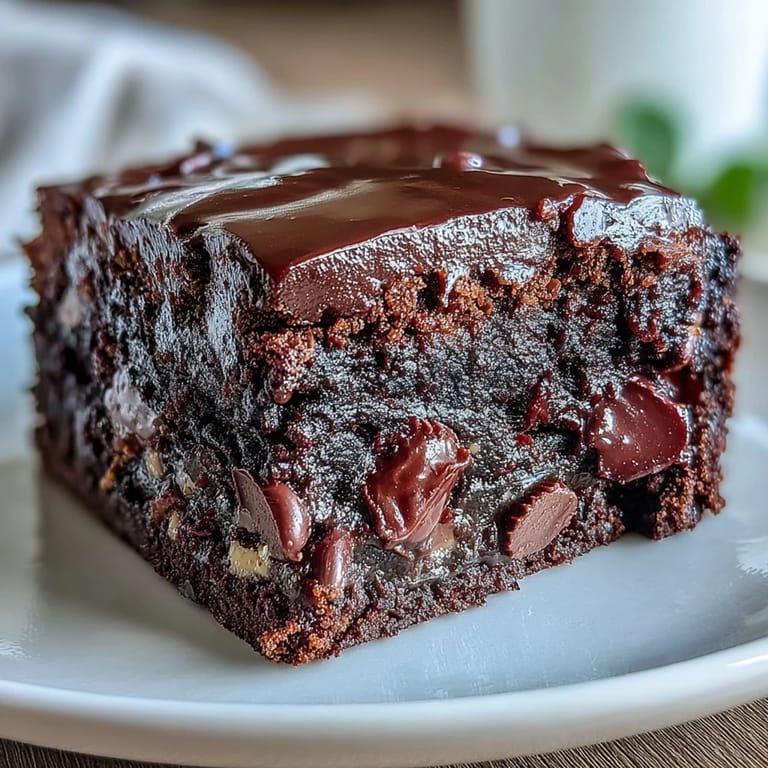
- A drizzle of melted peanut butter or chocolate over the cooled brownies makes them look restaurant-quality.
- Store these in a cool, dry place if not serving immediately, and they'll stay moist for days.
- These freeze beautifully for up to two months, so you can make a double batch and have emergency dessert ready.
 Merken
 These brownies transformed from a recipe I copied down on a napkin into something I've made probably fifty times over, and I still get excited every single time. That's how you know a recipe is truly worth keeping around.
Rezept-Fragen
- → Wie verhindere ich, dass die Brownies trocken werden?
Vermeide Übermischen des Teigs und backe die Brownies genau bis ein Zahnstocher mit feuchten Krümeln herauskommt.
- → Kann ich die Erdnussbutter Cups durch andere Füllungen ersetzen?
Ja, alternativ eignen sich Karamellbonbons oder Nougatcreme für eine ähnliche Textur und Geschmackstiefe.
- → Wie bewahre ich die Brownies am besten auf?
In einem luftdichten Behälter bei Zimmertemperatur halten sie sich bis zu 3 Tage frisch.
- → Welcher Backformtyp wird empfohlen?
Eine 23x33 cm große Backform mit Backpapier ausgelegt erleichtert das Herausnehmen und sorgt für gleichmäßiges Backen.
- → Kann ich die Brownies glutenfrei zubereiten?
Ja, indem du das Mehl durch eine glutenfreie Mischung ersetzt und auf zertifizierte Zutaten achtest.